How to Use Your NAD+ Home Kit
Welcome to your NAD+ home kit! We are excite for you to begin reaping the benefits of NAD+.
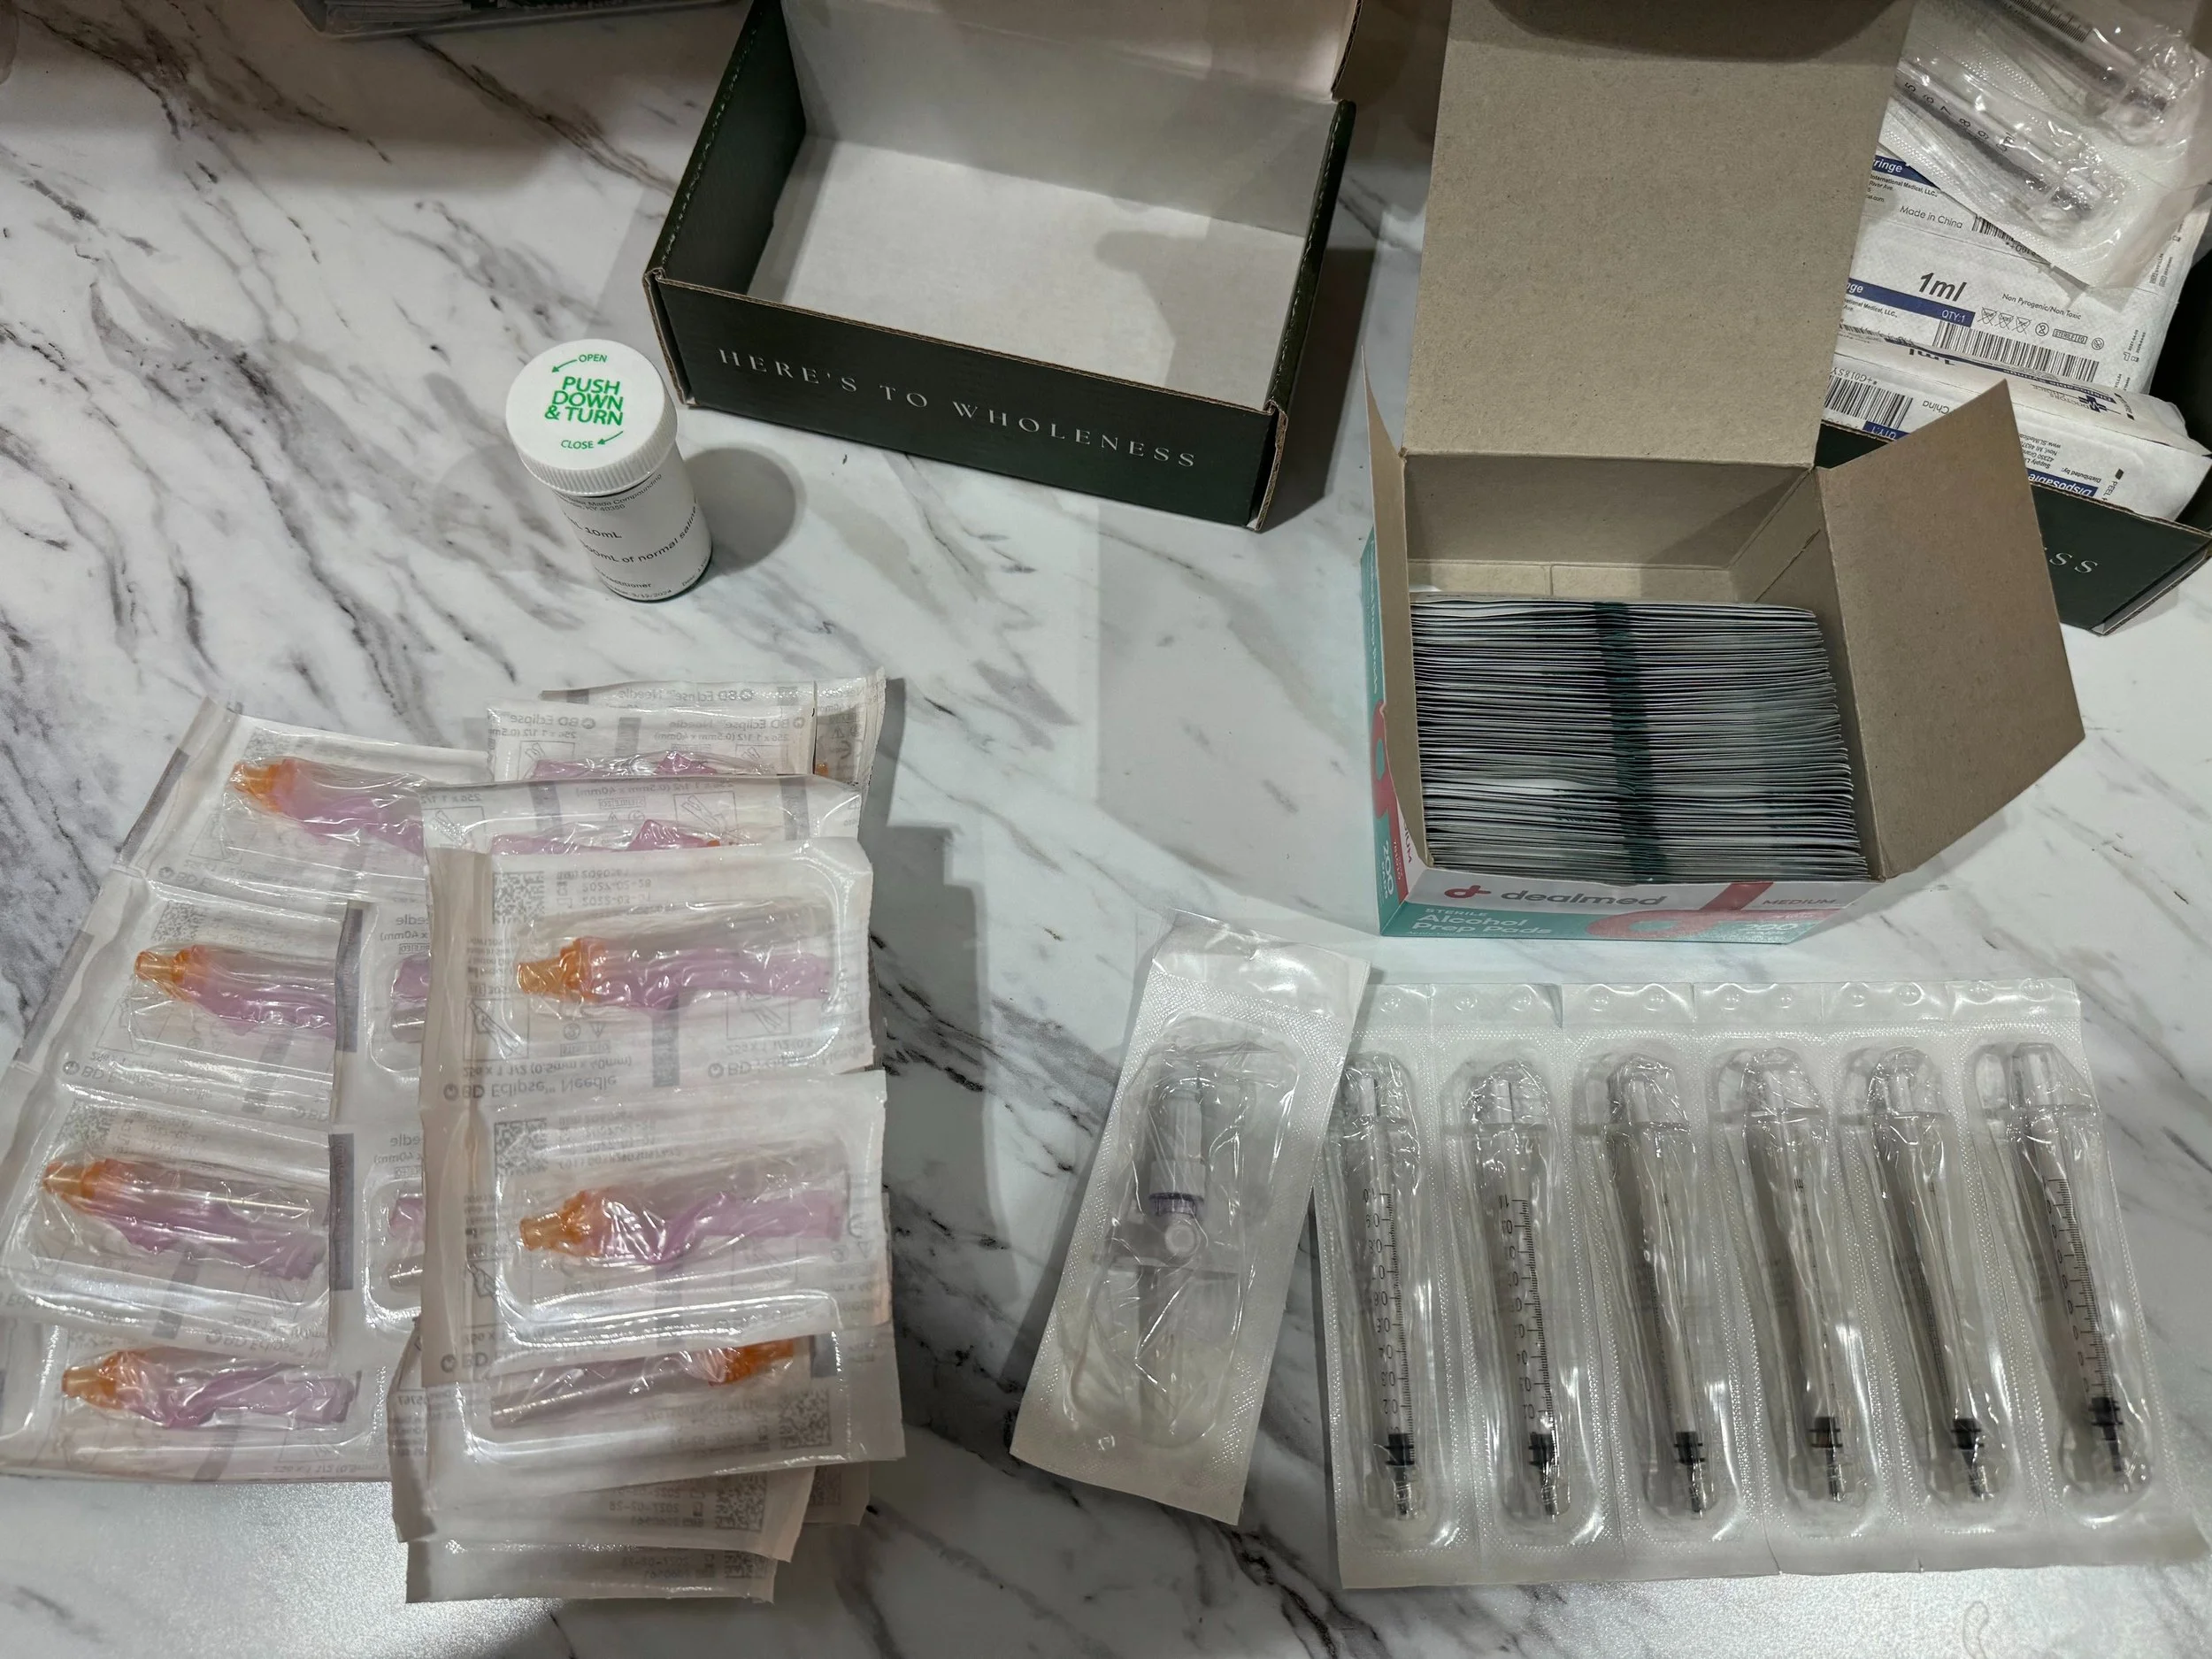
Your kit will come with:
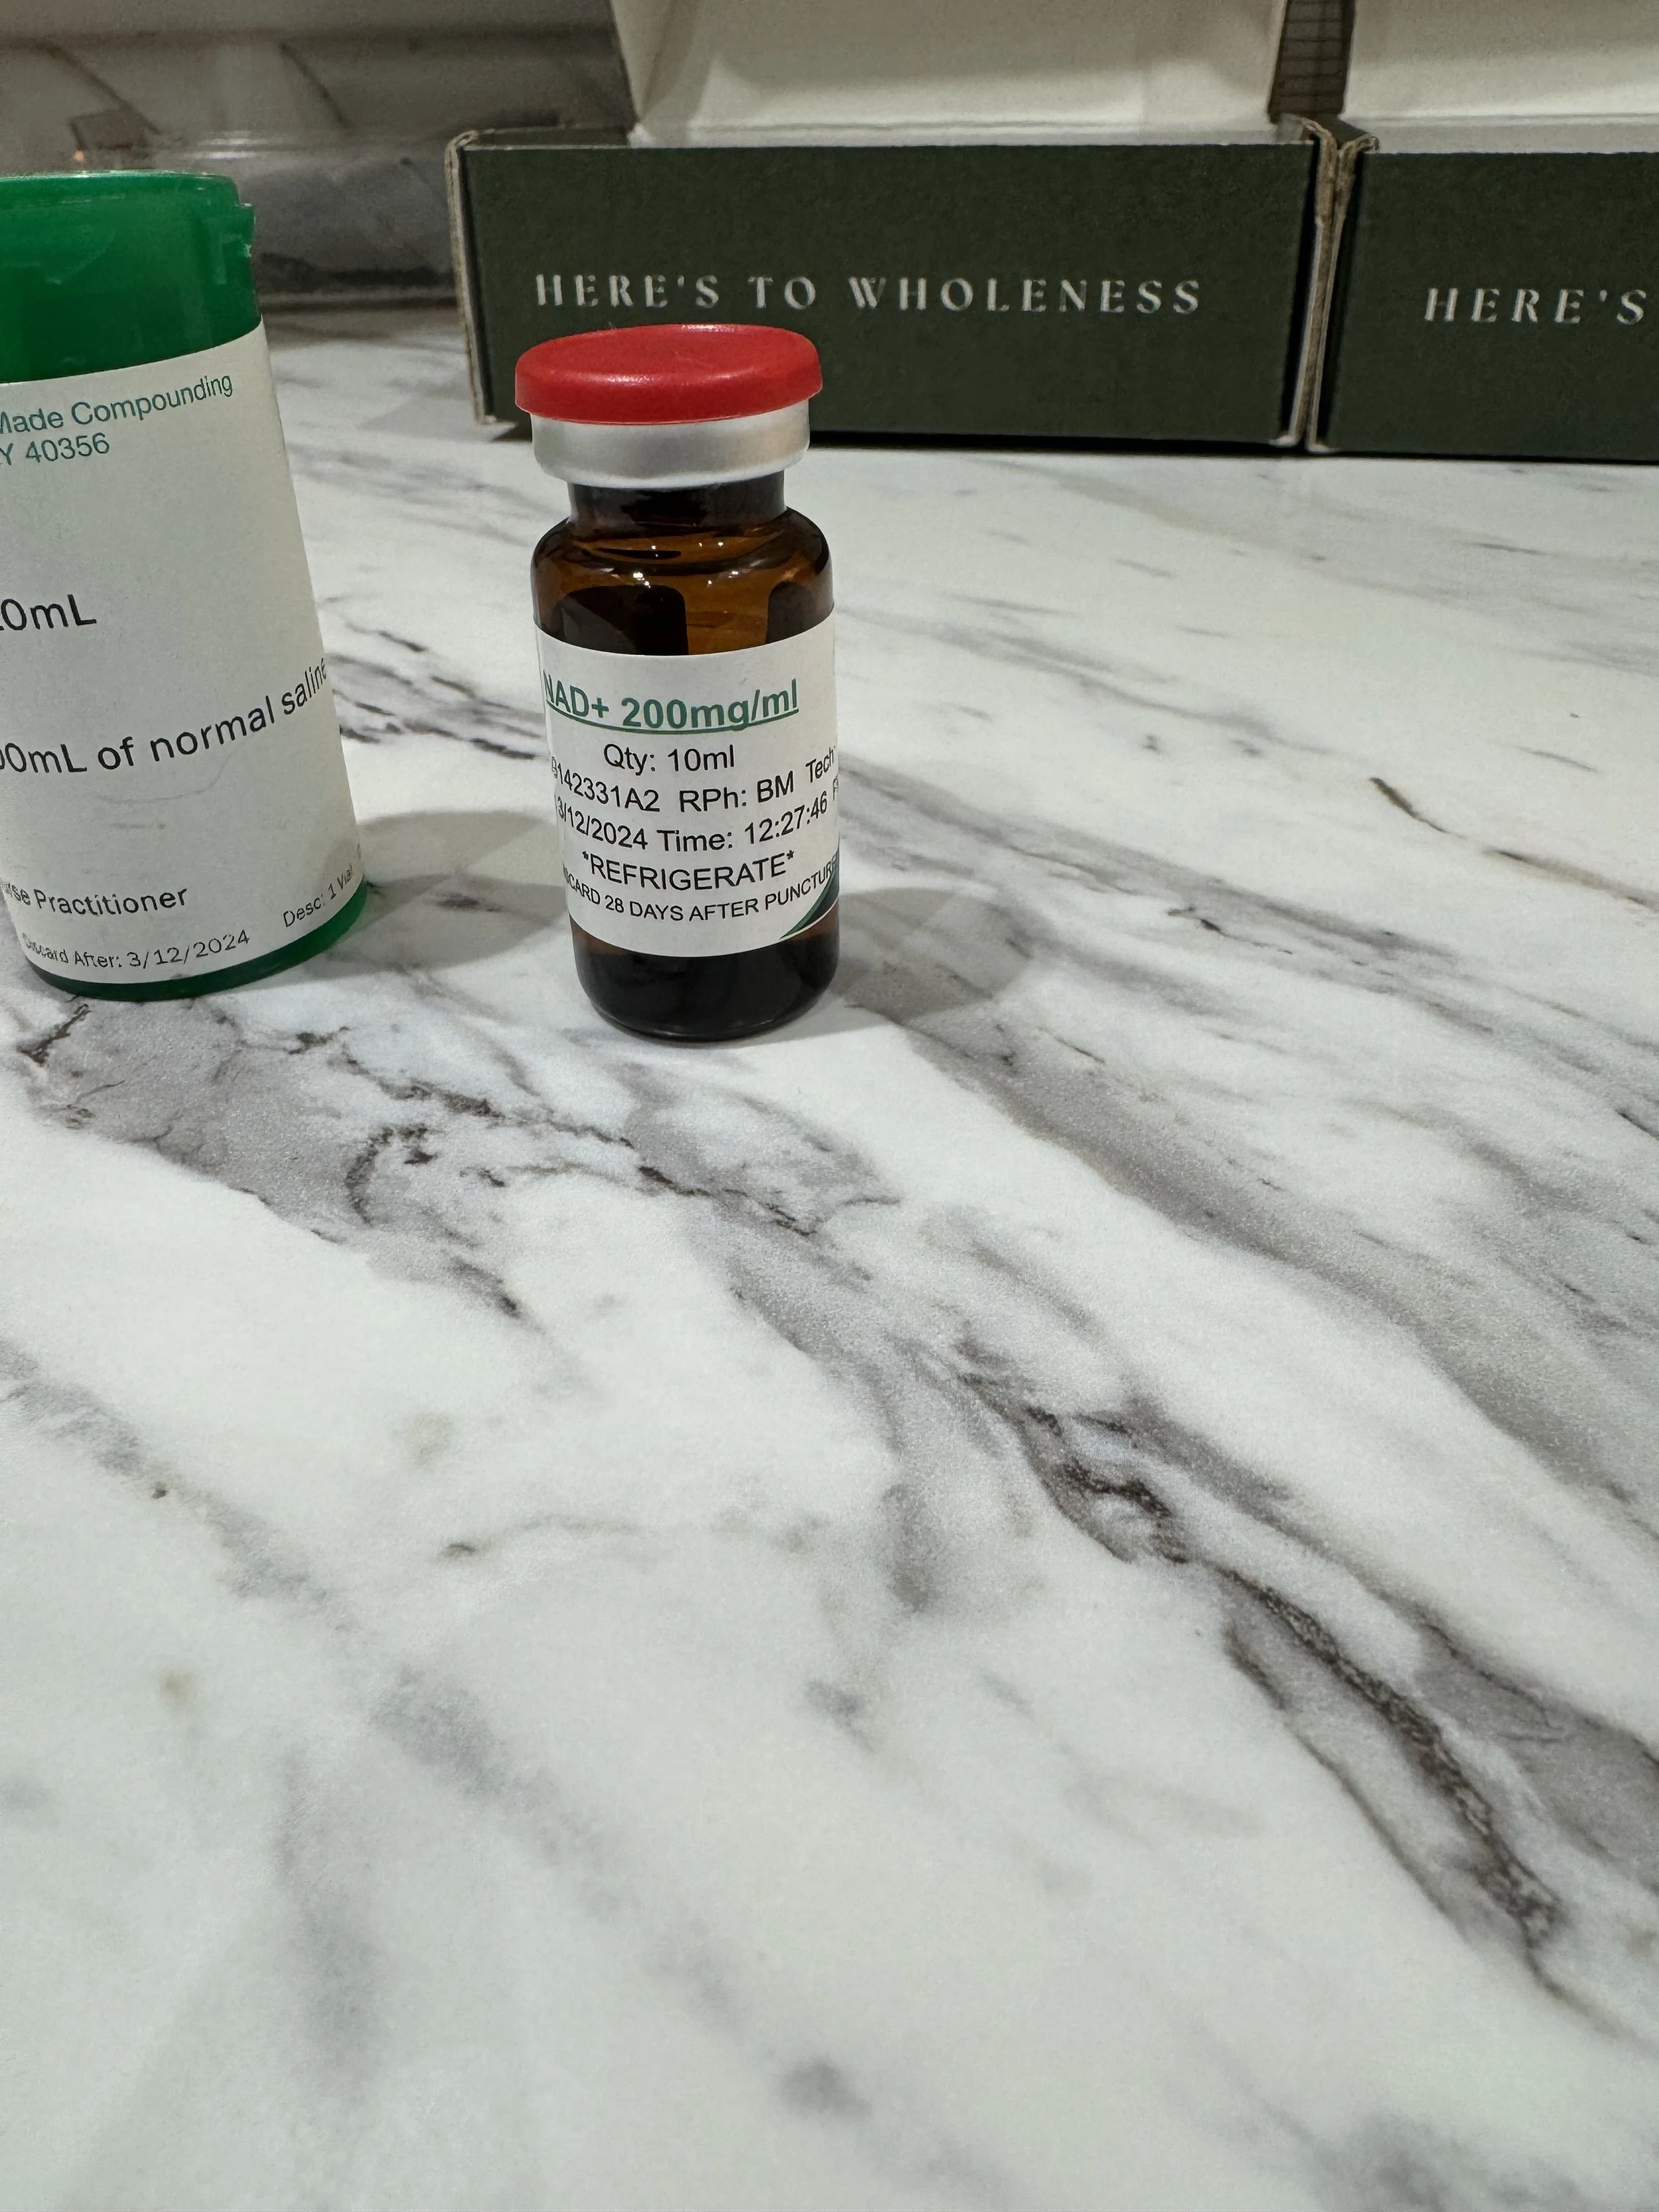
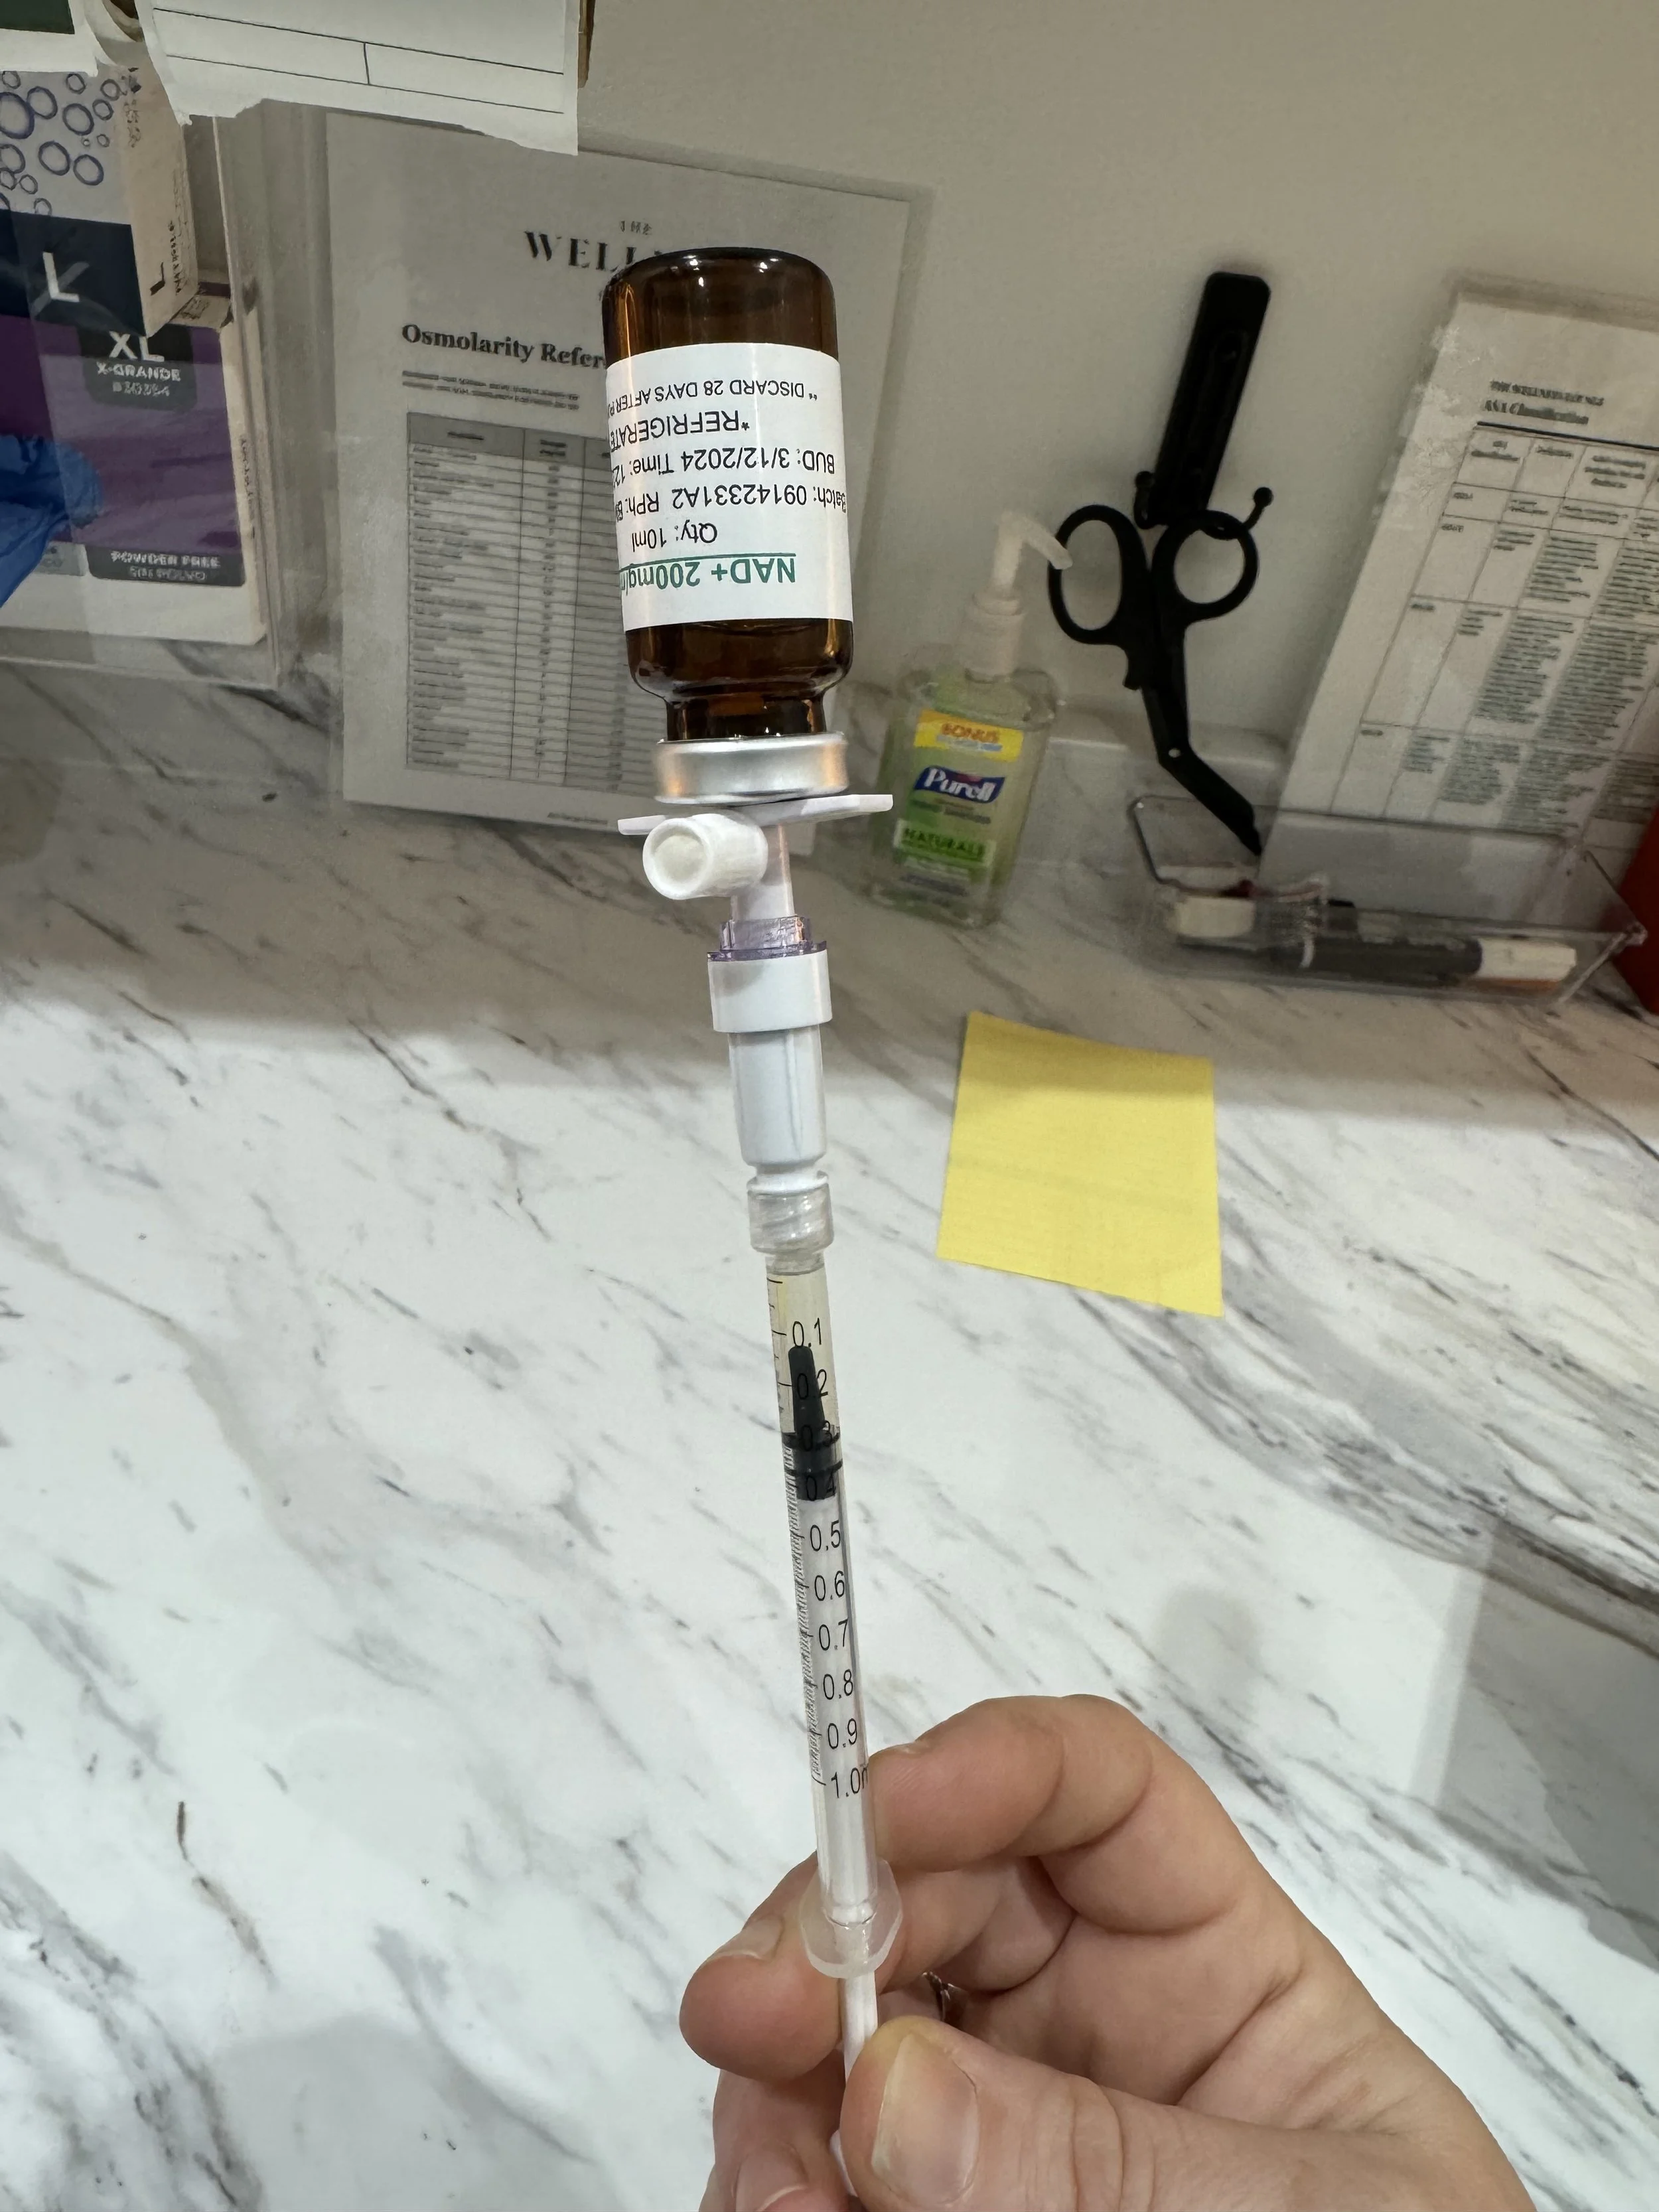
Medication bottle of NAD+ of either 2000 mg or 1000 mg
Alcohol swabs
10-20 1 ml syringes
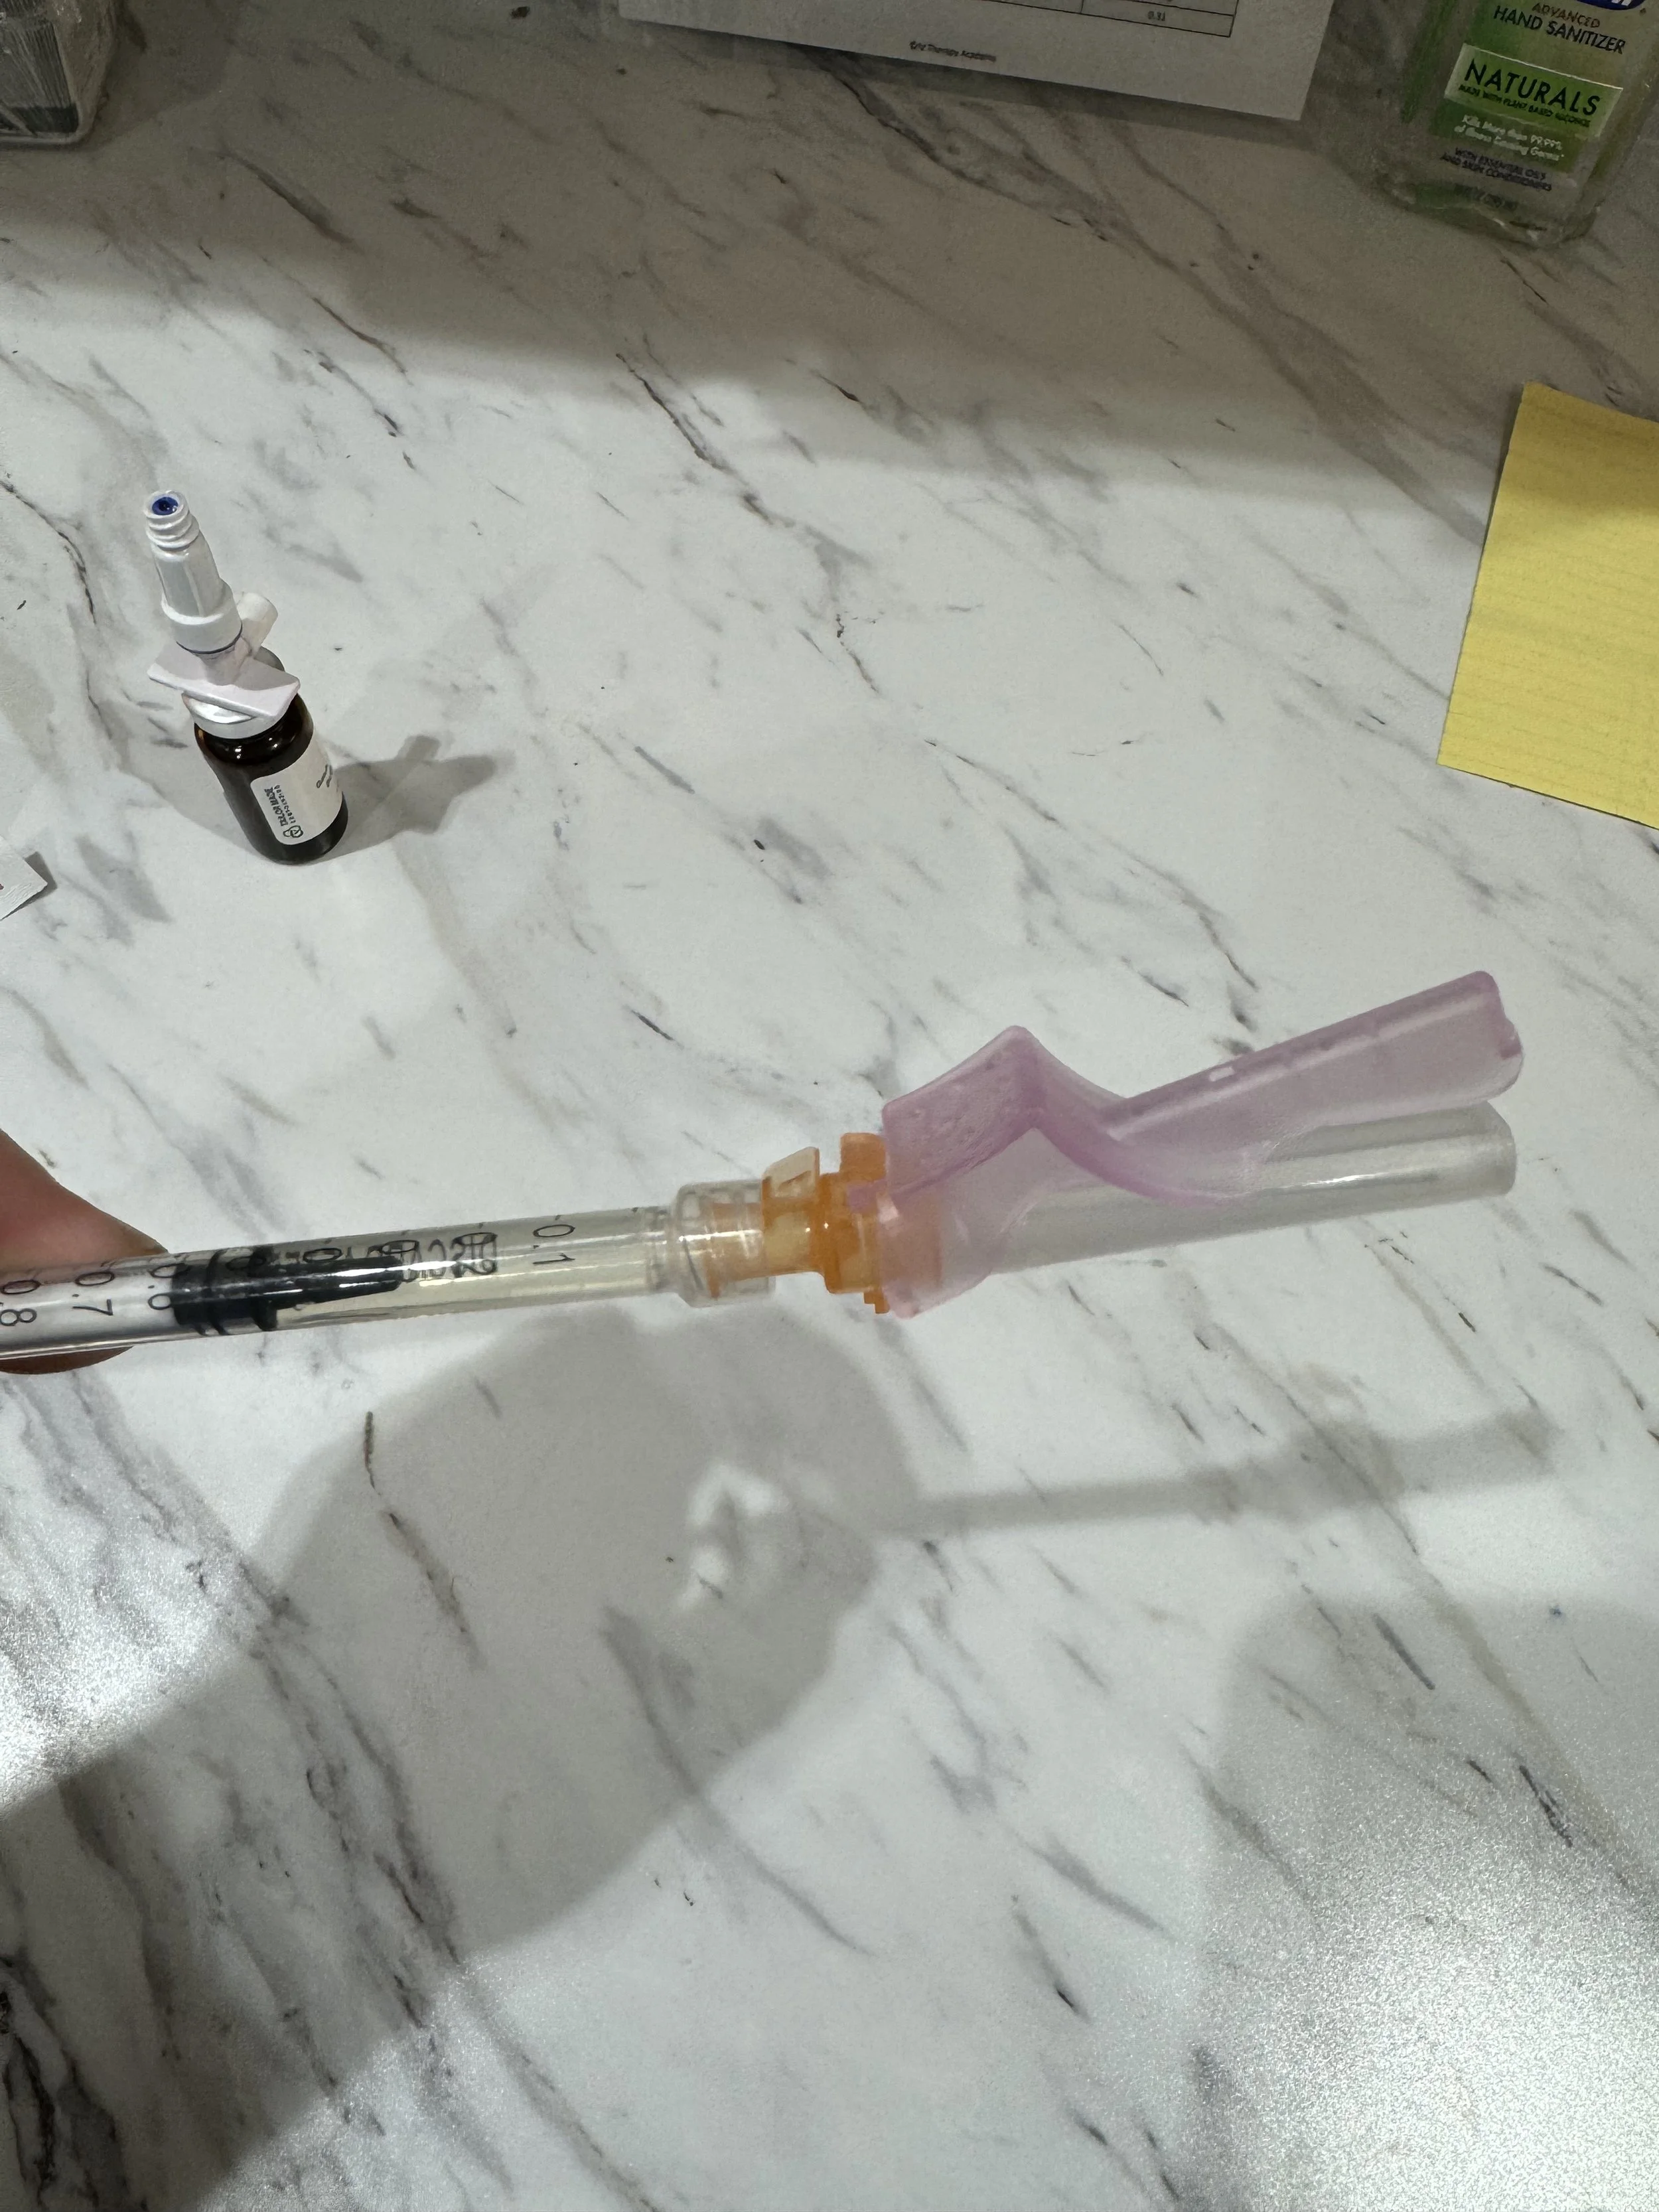
Vial Adapter/Vented Spike
10-20 Injection needles
Your bottle will come in a green, plastic medication bottle. Store in the refrigerator immediately.
Your bottle will be either a 200mg/1 ml or 100mg/ml bottle. Therefore, to do a 100 mg injection you would draw .5 ml and for a 200 mg injection you will draw 1 ml.
Do not go past 200 mg injection.


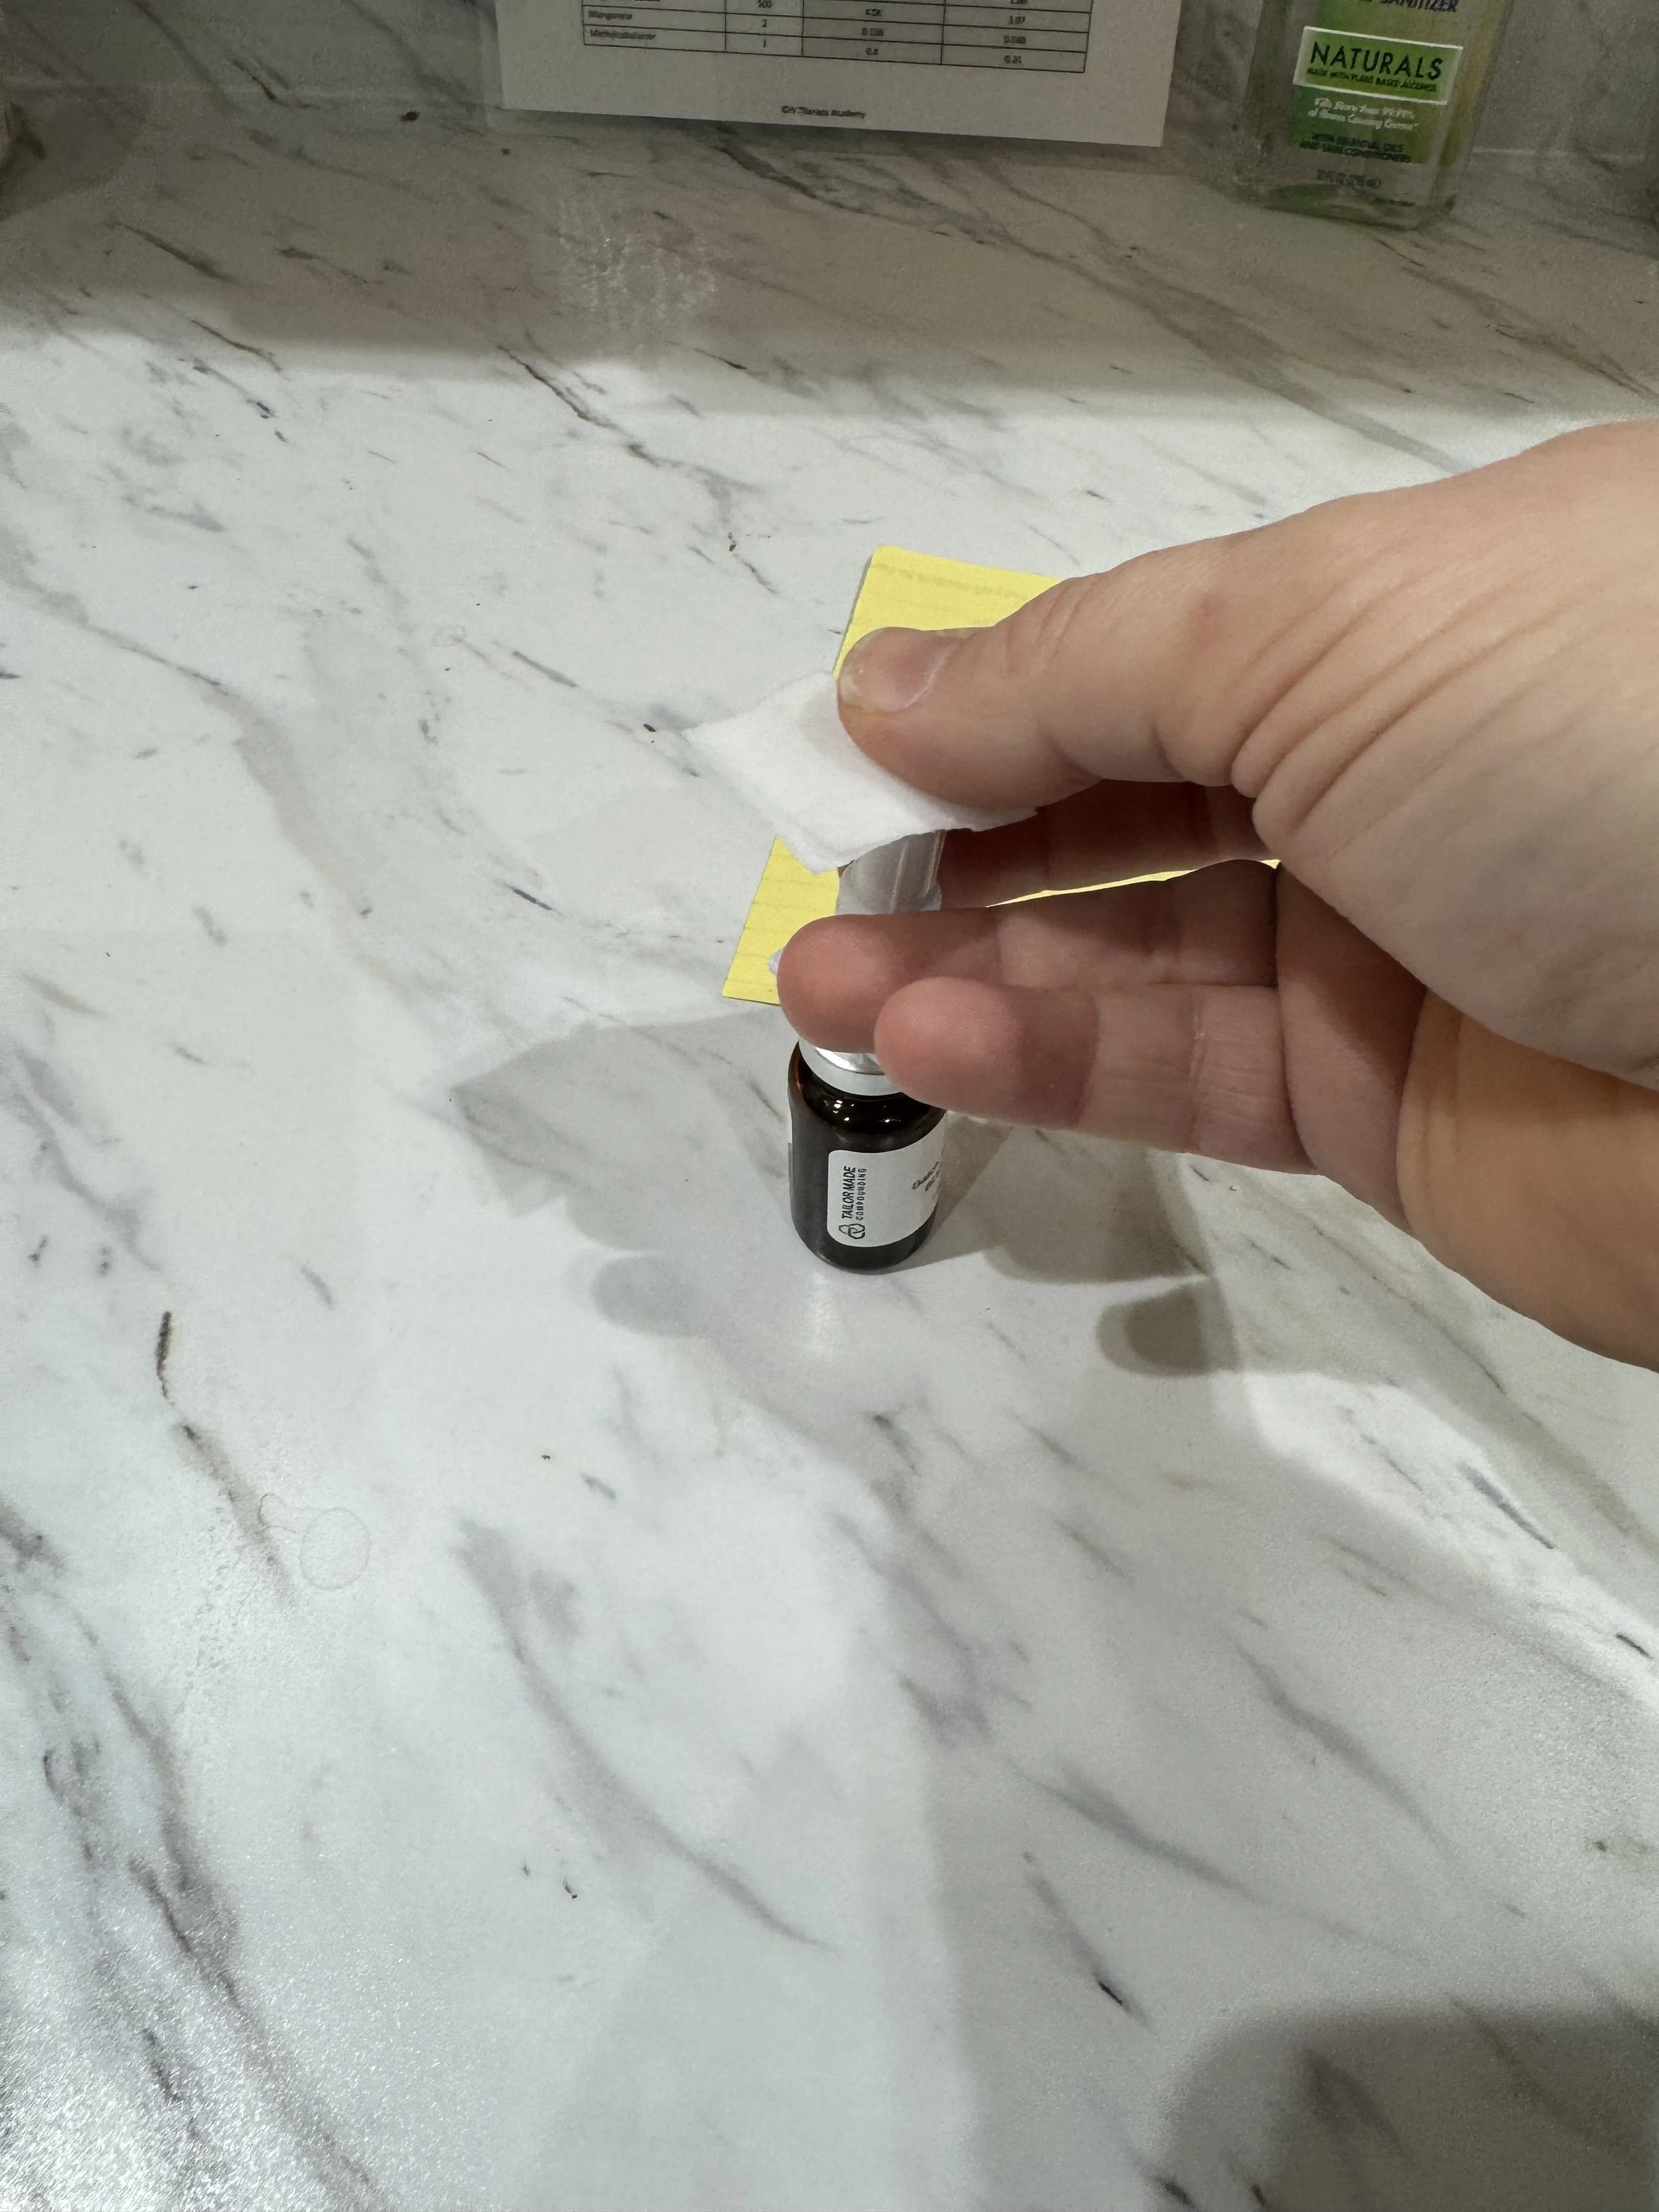
You will first remove the metal tab from the top of the bottle, this can be thrown away, swab the top of the bottle with an alcohol swab, attach the vented spike to the bottle. This will stay on your bottle until you’ve completed your injections. It can remain in your refrigerator, we suggests putting a cover over the bottle.


Swab your vented spike with an alcohol swab. Screw your syringe onto the vented spike to draw your NAD+. You’ll turn the bottle upside down, and draw the fluid, and push it back into the bottle until you don’t see any air bubbles.
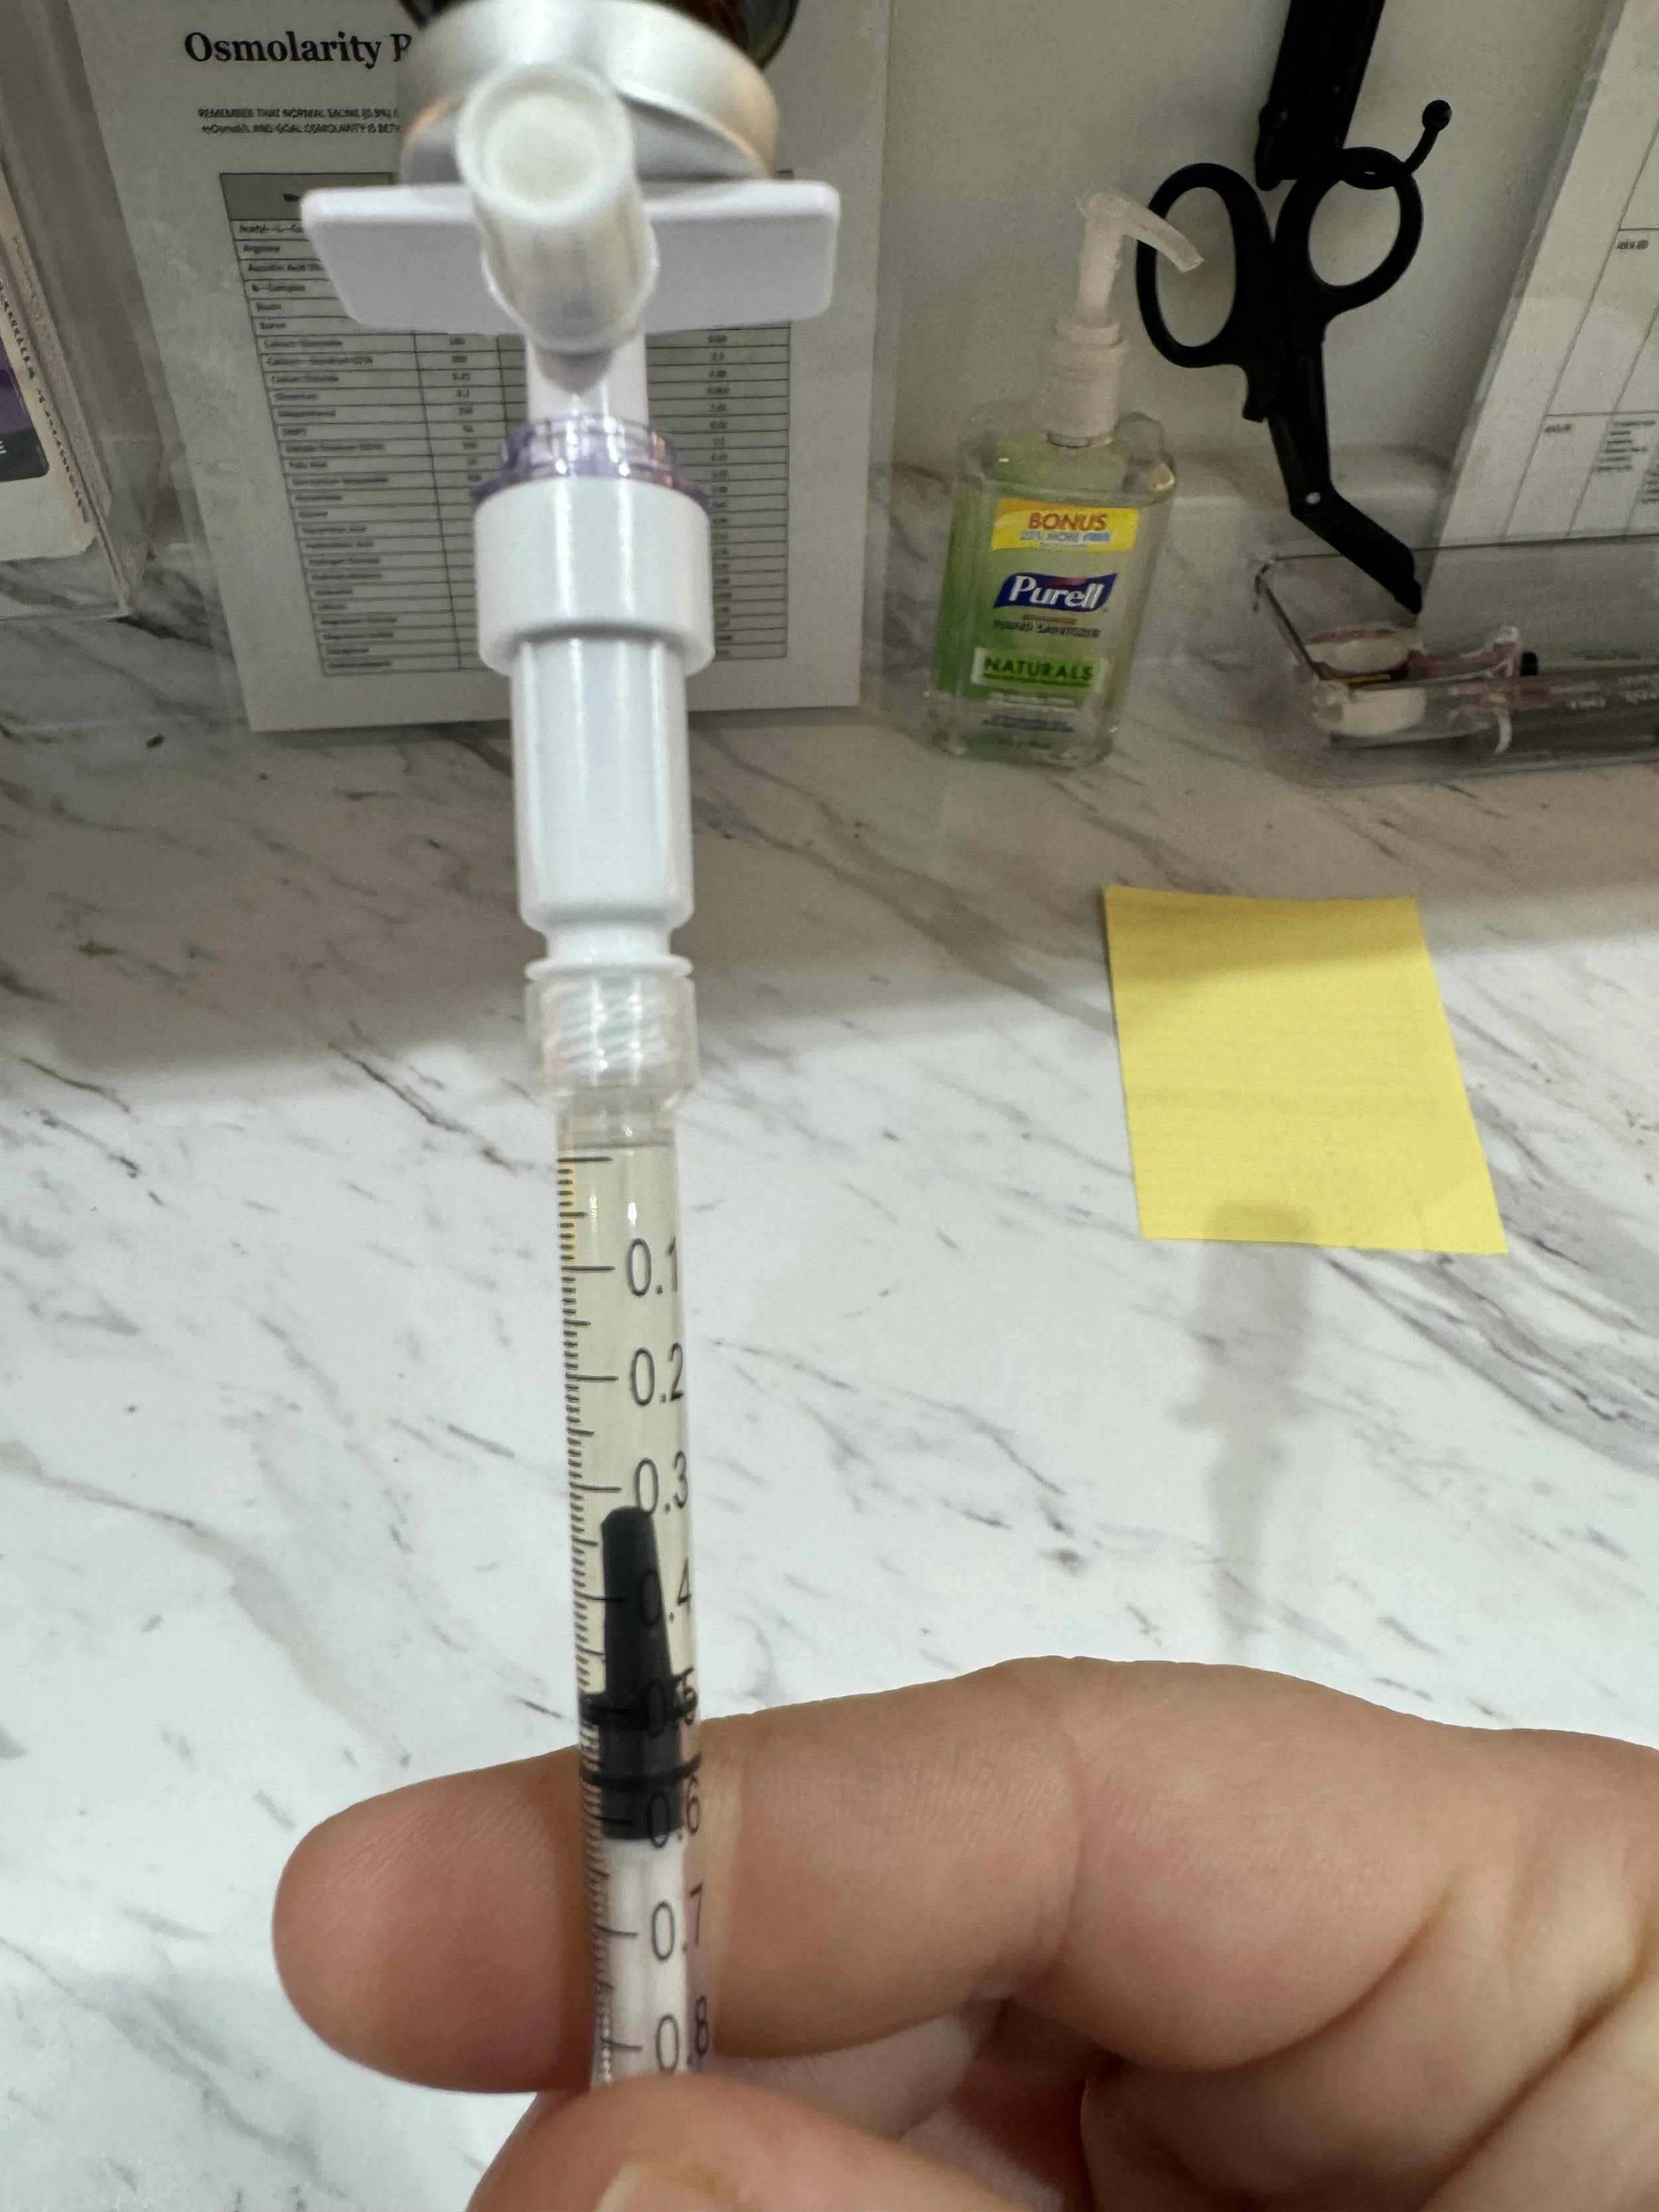
To draw 100 mg you’ll draw the fluid back to .5 ml.
For 200 mg you’ll draw to 1 ml.
Once you have drawn your desired amount you’ll attach your injection needle. This will screw on to the syringe. Click back the pink lock and remove the plastic cap.
Swab the area of arm for the injection site thoroughly.
Insert needle into the arm at the deltoid area (below the shoulder). Push the syringe slowly.
Following the injection apply pressure to the injection site with gauze/bandaid.